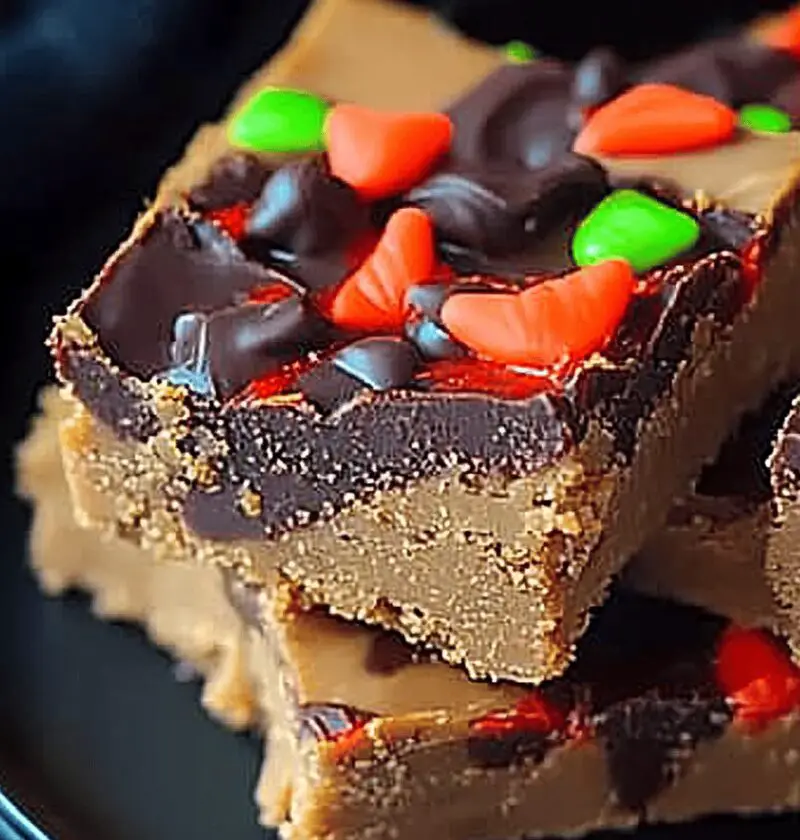
These Halloween Peanut Butter Bars bring together creamy peanut butter, sweet chocolate, and a dash of festive fun—no baking required and zero tricks. They’re the easiest spooky treat you’ll whip up this season, guaranteed to disappear fast!
Why You’ll Love This Halloween Peanut Butter Bars Recipe
- No oven needed—just mix, chill and slice
- Ready in under an hour, even with chilling time
- Kid-approved spooky dessert that’s hands-on fun
- Perfect for lunchbox surprises or party treat tables
- Customizable toppings—sprinkles, candy corn, mini M&Ms
- Easily made gluten-free or dairy-free with simple swaps
- Great for gift boxes, potlucks, and bake sales
- Crowd-pleasing combo of salty and sweet in every bite
Ingredients for Halloween Peanut Butter Bars
- 1½ cups old-fashioned oats (gluten-free if needed)
- 1 cup creamy peanut butter (I love Jif or Smucker’s)
- ½ cup honey or maple syrup (for a touch of seasonal sweetness)
- 1 teaspoon pure vanilla extract
- ¼ teaspoon fine sea salt
- 1½ cups semisweet chocolate chips (or dairy-free chocolate chips)
- 2 tablespoons coconut oil (or butter, for smoother melting)
- Festive sprinkles, candy corn, or mini peanut butter cups (optional topping)

Directions
- Prep your pan and bowl. Line an 8×8-inch baking dish with parchment paper, letting edges hang over for easy removal. Grab a medium bowl and a microwave-safe bowl.
- Mix oats and peanut butter. In the bowl, stir together oats, peanut butter, honey, vanilla, and salt until evenly combined—no dry pockets. The mixture should feel slightly sticky.
- Press into pan. Use a spatula or clean hands to press the base layer firmly into the dish. A flat bottom (like a measuring cup) helps get an even surface. You’ll feel the oats compact under your fingers—that’s perfect.
- Chill the base. Pop the pan into the fridge for at least 15 minutes so the bottom layer firms up—it makes for cleaner cutting later.
- Melt the chocolate topping. While the base chills, microwave chocolate chips and coconut oil in 30-second bursts, stirring in between until silky and smooth. If you prefer a double-boiler, it works great too.
- Spread the chocolate layer. Pour melted chocolate over the chilled base, tilting to coat evenly. For a spooky twist, drop a few dollops of peanut butter on top and swirl with a toothpick.
- Decorate. Scatter sprinkles, candy corn, or mini peanut butter cups while the chocolate’s still warm. Why not a spider-web swirl? It’s fun and festive.
- Final chill. Return to the fridge for 30 minutes or until the chocolate sets firmly. In a hurry? Slide into the freezer for 10–15 minutes—just watch it doesn’t freeze rock-hard.
- Slice and enjoy. Lift the bars out using the parchment edges. Run a sharp knife under hot water, wipe dry, then slice into 12–16 bars—wipe and reheat the knife between cuts for tidy edges.
Servings & Timing
Makes 12–16 Halloween Peanut Butter Bars
- Prep Time: 20 minutes (includes mixing and layering)
- Chill/Rest Time: 45 minutes (you can split between fridge and freezer)
- Total Time: about 1 hour
Variations
- Chocolate-dipped bottoms: Flip bars over and dip in melted chocolate for an ultra-rich crust.
- Almond butter swap: Use almond or cashew butter for a nuttier flavor and allergy-friendly option.
- Pumpkin spice twist: Stir 1 teaspoon pumpkin pie spice into the oat layer for fall flair.
- White chocolate ghosts: Drizzle white chocolate in ghost shapes on top before setting.
- Vegan & keto: Swap honey for sugar-free syrup, use sugar-free chocolate chips, and almond flour instead of oats.
- Candy corn crunch: Fold chopped candy corn into the base for extra color and texture.
Storage & Reheating
Store bars in an airtight container in the fridge for up to 5 days—perfect for grab-and-go snacks. You can freeze them (well wrapped) for up to 3 months; just thaw in the fridge for 30 minutes before serving. No need to reheat—these are best enjoyed chilled for that crisp bite, though a 10-second microwave zap softens them if you like gooey edges.
FAQs
Q: Can I use quick oats instead of old-fashioned?
A: Sure—quick oats work, though the texture will be slightly softer. I prefer old-fashioned for its chew.
Q: My chocolate isn’t smooth—what went wrong?
A: Likely overheated. Melt in shorter bursts (15–20 seconds), stirring often, and add a splash more oil if it stiffens.
Q: How do I make these nut-free?
A: Swap peanut butter for sunflower seed butter and choose seed-based “butter” chocolate chips.
Q: Will they stick to the parchment paper?
A: If you leave them in too long at room temp, they can stick. Peel away immediately after slicing, or chill fully before lifting out.
Q: Can I add protein powder?
A: Yes! Stir in 2–3 tablespoons of vanilla or chocolate protein powder—just add a splash of extra vanilla or liquid if it gets too dry.
Q: How do I get perfect squares?
A: Chill well, heat your knife under warm water, wipe it dry, then slice in one smooth motion—no sawing.
Q: Are these kid-safe for Halloween parties?
A: Absolutely—no choking hazards if you skip large candies, and you can adjust sweetness for little taste buds.
Q: Can I double the recipe?
A: You can! Just use a 9×13-inch pan and extend chilling time by 10–15 minutes.
Conclusion
These Halloween Peanut Butter Bars deliver a festive, homemade treat that balances creamy peanut butter with a sweet chocolate layer—no baking required and endless ways to customize. Whether you’re packing school lunches, filling a bake sale table, or just craving an easy dessert, give this recipe a try and let me know how you decorated yours. Don’t forget to check out my other spooky recipes—like Ghost Cupcake Bites or Monster Brownie Cups—and drop a comment below!