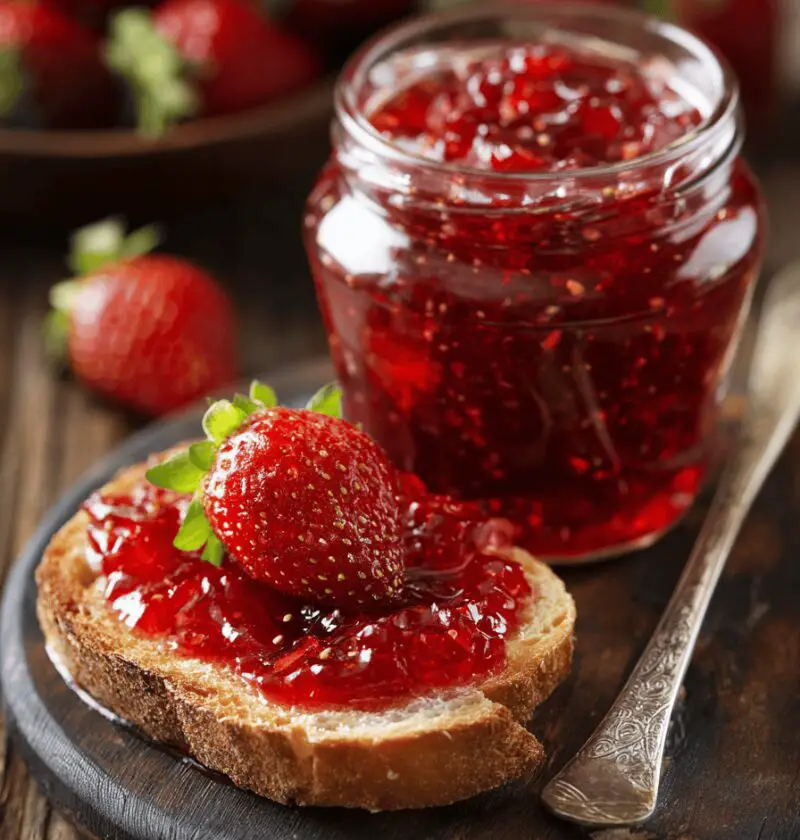
Strawberry Jam Recipe
This homemade Strawberry Jam Recipe is a no-fuss, easy preserve bursting with fresh strawberries—perfect for breakfast toast or a sweet condiment at any gathering.
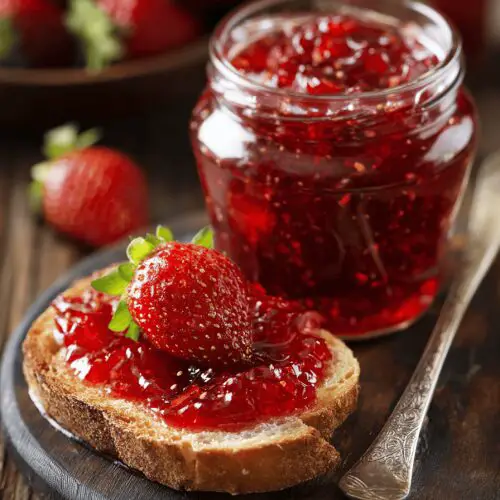
There’s something magical about spooning bright-red preserves over warm biscuits or stirring them into creamy yogurt. My Strawberry Jam Recipe celebrates peak-season berries with just a handful of simple ingredients. It’s seasonal, healthy-ish (we’ll chat sugar swaps in a bit), and comes together in under an hour—no fancy tools needed beyond a trusty saucepan and some clean jars. As a fifty-year-old home cook who’s been making jam since my kids were little, I love how this recipe bridges nostalgia and modern flavor. And let me tell you: once you try homemade jam, store-bought just won’t cut it.
Why You’ll Love This Recipe
• No fancy equipment—just a pot, spoon, and jars
• Ready in about 45 minutes from prep to jars
• Uses fresh strawberries for true, bright flavor
• Gluten-free, vegetarian, and can be vegan (see Variations)
• Perfect for breakfast toast, PB&J upgrades, or scones
• Great for canning beginners—easy water-bath method
• Customizable sweetness (you decide how much sugar)
• Lovely gift idea in decorative half-pint jars
Ingredients
• 2 pounds fresh strawberries, hulled and halved (look for firm, ripe berries—organic if you can)
• 1½ cups granulated sugar (or 1¼ cups cane sugar + ¼ cup honey for a lighter touch)
• 2 tablespoons fresh lemon juice (about half a lemon; boosts set and brightens flavor)
• 1 teaspoon finely grated lemon zest (optional, but adds a lovely zing)
• ¼ teaspoon kosher salt (balances sweetness)
Tip: If strawberries aren’t at peak, toss them gently in 1 tablespoon of granulated sugar and let sit 15 minutes—this draws out their juices for an even jammy texture.

Directions
1. In a large saucepan over medium heat, combine strawberries, sugar, lemon juice, zest, and salt. Stir gently so berries stay mostly in chunks.
2. Let the mixture sit off heat for 10 minutes—this maceration helps fruit release juice and jump-starts the jam.
3. Bring to a gentle boil, stirring frequently to prevent sticking. As soon as bubbles appear, reduce heat to medium-low.
4. Cook, stirring every minute or so, until mixture thickens and reaches 220°F on a candy thermometer (about 15–20 minutes). No thermometer? Drop a bit on a cold plate—if it wrinkles when nudged, it’s set.
5. Meanwhile, sterilize four 8-ounce jars: wash in hot, soapy water, rinse well, then either boil in a large pot for 10 minutes or run through your dishwasher’s hottest cycle.
6. Remove jars with tongs. Carefully ladle hot jam into jars, leaving ¼-inch headspace. Wipe rims clean, apply lids, and screw on bands fingertip-tight.
7. Process jars in a simmering water bath for 10 minutes (adjust for altitude if needed). This step turns your jam into preserves safe for pantries.
8. Transfer jars to a towel-lined surface and let rest, undisturbed, for 12–24 hours. You’ll hear satisfying pops as lids seal.
Servings & Timing
• Yield: about 4 half-pint jars (2 cups total)
• Prep Time: 10 minutes (+10 minutes maceration)
• Cook Time: 20 minutes
• Jar Prep & Canning: 20 minutes
• Total Time: about 1 hour
Variations
• Lavender Twist: Add 1 teaspoon culinary lavender in step 1 for floral notes.
• Low-Sugar Version: Swap sugar for ½ cup sugar + ¼ cup powdered pectin—cook time drops by 5 minutes.
• Vegan Delight: Use maple syrup instead of honey.
• Strawberry-Balsamic: Stir in 1 tablespoon aged balsamic vinegar for depth.
• Chia Seed Jam: Once off heat, whisk in 2 tablespoons chia seeds—no canning needed, chill for 2 hours.
Storage & Reheating
Store sealed jars in a cool, dark pantry for up to one year—though you’ll likely finish them much sooner! Once opened, refrigerate and use within 3 weeks. To loosen chilled jam, spoon desired amount into a microwave-safe bowl and heat in 10-second bursts, stirring until spreadable.
Make-ahead tip: Prepare jam up to 3 months before gifting season or heavy breakfast mornings. The flavor actually deepens over a few weeks.
Notes
• Texture: For chunkier jam, mash ⅓ of the berries with a potato masher before cooking.
• Sugar Level: Taste early—if berries are super sweet, try trimming sugar by ¼ cup.
• Preserving Tip: Always check jar seals after 24 hours—unsealed jars can be stored in the fridge and eaten first.
FAQs
Q: Can I freeze this jam instead of canning?
A: Absolutely—pour cooled jam into freezer-safe containers, leaving ½-inch headspace; freezes well for up to 6 months.
Q: My jam is too runny. What went wrong?
A: Likely didn’t reach 220°F or you skipped the lemon juice—both help pectin set. Cook a few more minutes or mash in a bit of powdered pectin.
Q: Why is my jam too thick?
A: If overcooked, water evaporates excessively. You can gently stir in a tablespoon of hot water to loosen it.
Q: Do I have to peel strawberries?
A: No need—peels are soft and add color; just hull and quarter.
Q: Can I use frozen berries?
A: Sure—thaw them first and drain excess liquid to avoid overly watery jam.
Q: How do I know when jars seal properly?
A: Lids will “pop” in a few hours; press the center—if it doesn’t spring back, it’s sealed.
Conclusion
This Strawberry Jam Recipe turns simple, fresh berries into a sweet, versatile preserve you’ll reach for every morning and at every brunch gathering. Give it a try—pop over a comment below to share your tweaks, or explore my Homemade Raspberry Jam Recipe next. Happy preserving!
Strawberry Jam Recipe
Ingredients
- 2 pounds fresh strawberries hulled and halved
- 1½ cups granulated sugar or 1¼ cups cane sugar + ¼ cup honey for a lighter touch
- 2 tablespoons fresh lemon juice about half a lemon; boosts set and brightens flavor
- 1 teaspoon finely grated lemon zest optional, but adds a lovely zing
- ¼ teaspoon kosher salt balances sweetness
Instructions
- In a large saucepan over medium heat, combine strawberries, sugar, lemon juice, zest, and salt. Stir gently so berries stay mostly in chunks.
- Let the mixture sit off heat for 10 minutes. This maceration helps fruit release juice and jump-starts the jam.
- Bring to a gentle boil, then reduce heat to medium-low. Cook, stirring every minute, until mixture thickens and reaches 220°F on a candy thermometer.
- Meanwhile, sterilize four 8-ounce jars. Remove from heat and carefully ladle hot jam into jars, leaving ¼-inch headspace.
- Process jars in a simmering water bath for 10 minutes. Transfer jars to a towel-lined surface and let rest for 12–24 hours.