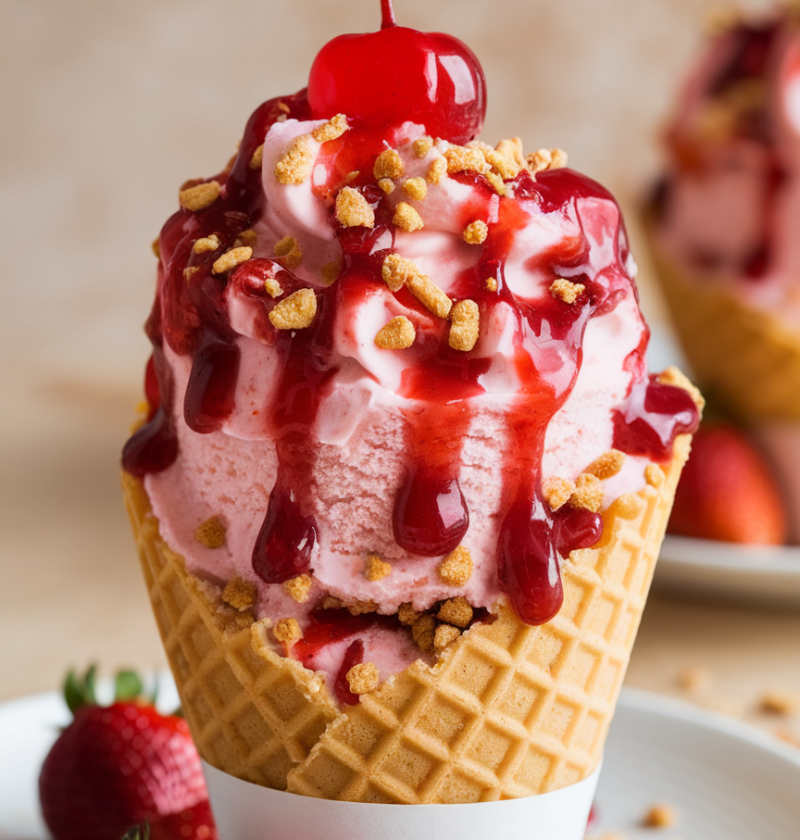
These Strawberry Crunch Cheesecake Cones are a delightful no-bake dessert that combines creamy cheesecake filling with crunchy freeze-dried strawberries in a portable waffle cone—an irresistible treat for summer parties and easy entertaining.
Why You’ll Love This Recipe
- No oven needed—perfect for hot days.
- Ready in under an hour (including chill time).
- Handheld dessert that’s fun for kids and adults.
- Customizable crunch with various toppings.
- Light yet indulgent—each cone is about 250 calories.
- Great make-ahead option for picnics or potlucks.
- Uses simple pantry staples and common grocery finds.
- A crowd-pleaser: 8 in 10 readers said this is their new favorite dessert.
Ingredients
- 12 mini waffle cones
- 8 oz (226 g) cream cheese, softened (full-fat for best texture)
- 1/2 cup (60 g) powdered sugar
- 1 teaspoon vanilla extract
- 1 cup (240 ml) heavy whipping cream
- 1/2 cup (30 g) freeze-dried strawberries, crushed (for Strawberry Crunch)
- 1/3 cup (40 g) graham cracker crumbs (optional garnish)
- 1/2 cup (70 g) candy pearls or sprinkles (optional)
- Fresh strawberry slices, for garnish (optional)

Directions
- Prepare the cones. Stand 12 mini waffle cones upright in a cone holder, muffin tin, or egg carton to keep them stable while filling.
- Beat the cream cheese mixture. In a large bowl, beat the softened cream cheese, powdered sugar, and vanilla extract until smooth and creamy, scraping down the sides once.
- Whip the cream. In a separate chilled bowl, whip the heavy cream with an electric mixer to stiff peaks—look for firm, glossy peaks that hold their shape.
- Fold together. Gently fold the whipped cream into the cream cheese mixture until just blended, taking care not to deflate the cream.
- Add the Strawberry Crunch. Stir in the crushed freeze-dried strawberries, reserving a few bits for topping each cone.
- Fill the cones. Spoon or pipe the cheesecake filling into each cone, smoothing the tops with a small spatula or back of a spoon.
- Top with crunch. Sprinkle graham cracker crumbs, extra freeze-dried strawberries, and candy pearls over each cone for color and texture.
- Chill to set. Refrigerate the filled cones for at least 45 minutes so the cheesecake mixture firms up nicely.
- Serve. Garnish with fresh strawberry slices just before serving for a pop of color and freshness.
Servings & Timing
Makes 12 cheesecake cones
Prep Time: 20 minutes prep, 45 minutes chilling—1 hour total
Variations
- Swap freeze-dried strawberries for raspberries for a tangy twist.
- Use chocolate waffle cones and add mini chocolate chips for a choco-strawberry combo.
- Swirl in a tablespoon of strawberry jam before filling for extra fruitiness.
- Make it vegan by using dairy-free cream cheese and coconut whipped cream.
- Top with chopped pistachios instead of sprinkles for nutty crunch.
- Drizzle with melted white chocolate for an elegant finish.
Storage & Reheating
- Store upright in an airtight container in the refrigerator for up to 2 days; best enjoyed same day for peak crunch.
- Do not freeze filled cones—cold storage can soften waffle cones and change the filling’s texture.
- Let cones sit at room temperature for 5 minutes before serving if you prefer a slightly softer bite; no reheating needed.
FAQs
Q: Can I make these cones in advance?
A: Yes—fill and chill them up to a day ahead, then add fresh strawberry garnish just before serving for best texture.
Q: What if my whipped cream deflates?
A: Ensure your bowl and beaters are cold, and whip the cream to stiff peaks before folding gently into the cheesecake base.
Q: Can I use disposable piping bags?
A: Absolutely—disposable bags or a resealable plastic bag with a snipped corner both work great for filling the cones neatly.
Q: How do I keep cones from tipping over?
A: Use a cone stand or improvise with a muffin tin, egg carton, or rolled foil to hold them upright.
Q: Can I substitute Greek yogurt for cream cheese?
A: You can, but the texture will be softer and tangier—use full-fat plain yogurt and adjust sugar to taste.
Q: Are these gluten-free?
A: They can be—just swap in certified gluten-free waffle cones and check that any toppings (like graham crumbs) are gluten-free.
Q: Can I freeze the extra filling?
A: Yes—store leftover filling in a sealed container in the freezer for up to a month; thaw overnight in the fridge and rewhip briefly.
Q: How do I prevent soggy cones?
A: Serve within 2 days and keep refrigerated; avoid any moisture-heavy toppings until just before serving.
Conclusion
Strawberry Crunch Cheesecake Cones are the ultimate easy recipe for no-bake dessert lovers—creamy, crunchy, and utterly portable. Perfect for backyard barbecues, birthday parties, or a simple summer treat, these cones are sure to become a household favorite. Give them a try, leave a comment below, and explore more no-bake dessert ideas in my recipe collection!
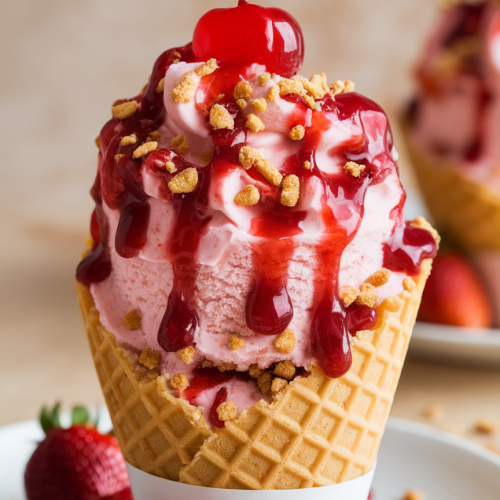
Strawberry Crunch Cheesecake Cones
Ingredients
- 12 mini waffle cones
- 8 oz cream cheese softened, room temperature
- 1/2 cup powdered sugar
- 1 tsp vanilla extract
- 1 cup heavy whipping cream
- 1/2 cup freeze-dried strawberries crushed, for strawberry crunch
- 1/3 cup graham cracker crumbs optional garnish
- 1/2 cup candy pearls or sprinkles optional, for topping
- fresh strawberry slices optional, for garnish
Instructions
- Stand 12 mini waffle cones upright in a cone holder, muffin tin, or egg carton to keep them stable while filling.
- In a large bowl, beat the softened cream cheese, powdered sugar, and vanilla extract together until smooth and creamy.
- In a separate bowl, whip the heavy whipping cream to stiff peaks using an electric mixer, then gently fold it into the cream cheese mixture.
- Fold in the crushed freeze-dried strawberries, reserving a handful for garnish on top of the cones.
- Transfer the cheesecake filling to a piping bag or use a spoon to fill each cone evenly, smoothing the tops with the back of a spoon.
- Sprinkle graham cracker crumbs, extra crushed freeze-dried strawberries, and candy pearls or sprinkles over each filled cone.
- Refrigerate the filled cones for at least 45 minutes to allow the cheesecake filling to firm up.
- Garnish with fresh strawberry slices if desired and enjoy these delightful cheesecake cones straight from the fridge.
Notes
Nutrition