You ever have one of those days where you’re juggling a million things—laundry’s piling up, the dinner plan got derailed by a surprise work call, and the kids are circling the pantry like little snack vultures? That was me last December, right in the thick of holiday craziness. My oven was maxed out with gingerbread men, cinnamon rolls, and a pan of sweet potato casserole that practically called for its own zip code. I was elbow-deep in dough when my youngest granddaughter, Lily, looked up with those big brown eyes and begged, “Gramma, can we make something… fast?” I swear, my heart melted faster than butter on a hot skillet.
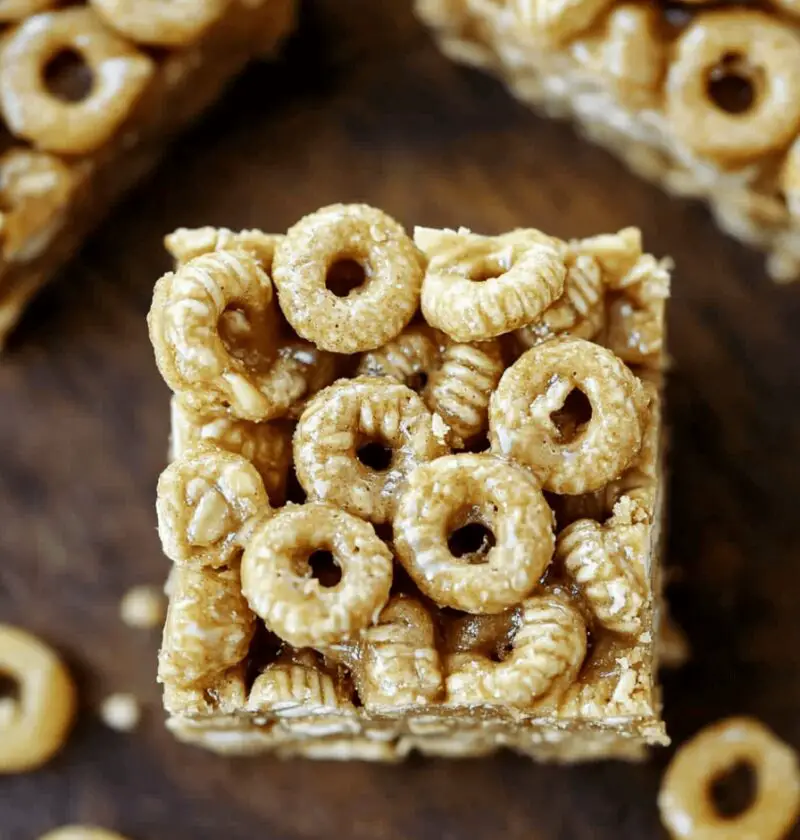
So there I was, hunting through cupboards, trying to think of something crowd-pleasing but oven-free—’cause who needs more hot-air stress in December? And then it hit me: Peanut Butter Cheerio Bars. Creamy peanut butter, crunchy Cheerios, a whisper of honey and vanilla… pure magic. These bars became our go-to lifesaver, and the way Lily and her cousins gobbled them down made me feel like a rock star—if you call being “rock star” in your comfy slippers and a flour-dusted apron.

Why You’ll Love These Peanut Butter Cheerio Bars
- No-oven required—totally stress-free (your kitchen stays cool, your sanity intact!)
- Ready in under an hour, including chill time (perfect for last-minute treats)
- Makes 12 generous squares—ideal for school lunches, picnic baskets, or an impromptu bake sale
- Kid-approved and adult-approved (hello, snack-time peace treaty!)
- Customizable—toss in chocolate chips, swap nuts, or stir in dried fruit (or do ’em all!)
- Wholesome pantry ingredients—whole-grain Cheerios, oats, peanut butter, honey
- Gluten-free option when you grab certified GF Cheerios (yes, really!)
- Perfect for gift boxes, cookie exchanges, and well… bribing your neighbors
- Guilt-lite comfort food—sweet, a little salty, and completely craveable
Ingredient Notes
Okay, let’s chat about what you’ll need—and feel free to riff on these. I always say, “Use what you have—or what you wish you had!”
- 4 cups Cheerios cereal: original or multigrain. If you’re doing gluten-free, grab certified gluten-free Cheerios from the health-food aisle.
- 1 cup old-fashioned rolled oats: these bring a chewy heartiness that quick oats just can’t match.
- ½ cup smooth peanut butter: natural, no-stir style works great—but my heart lies with a classic Skippy-type for nostalgia. Almond or cashew butter? Totally fine too.
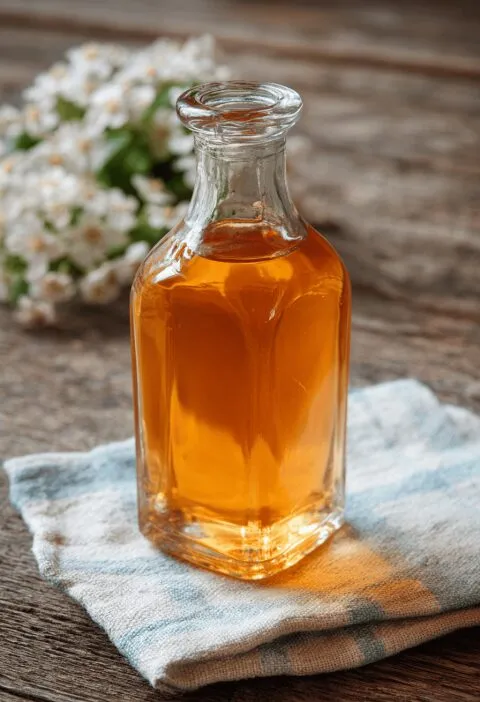
- ⅓ cup pure honey: I’m partial to wildflower honey (so floral and light), but clover honey is fabulous if that’s what you’ve got.
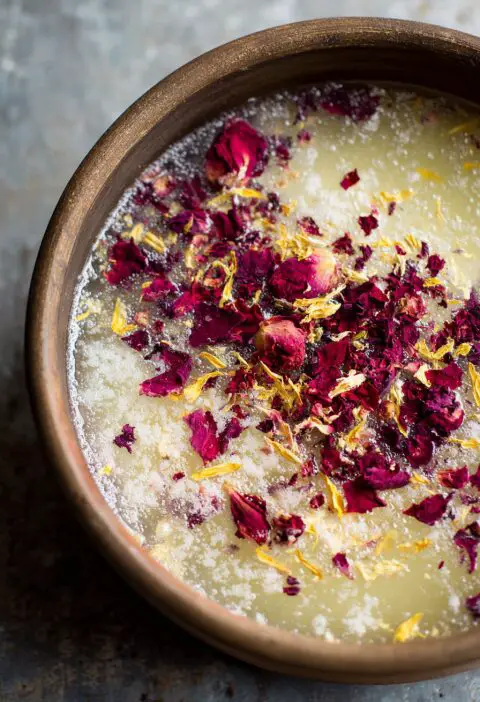
- 2 Tbsp unsalted butter: or swap in coconut oil if you need dairy-free vibes.
- 1 tsp pure vanilla extract: trust me, the real stuff adds depth. I always keep mine stocked.
- Pinch of sea salt: this is the little oomph that balances all that sweet-salty delight.
- ¼ cup mini chocolate chips (optional but oh-so-fun): roll with Ghirardelli minis if you want a fancy touch—just sayin’.
Pro Tip: Scoop oats into your measuring cup instead of packing them down—light and fluffy is the goal here. If your peanut butter is rock-solid cold, nuke it for 10 seconds so it stirs in smoothly. And please—line your pan! Parchment paper is your best friend when it comes to neat squares.
Directions
- Line an 8×8-inch pan with parchment paper, leaving a 2-inch overhang on two sides. This makes lifting the whole slab out as easy as pie (well, easier than pie).
- In a medium saucepan over low heat, melt the butter and honey together. Stir gently until you see tiny bubbles forming at the edges—don’t let it scorch! (I learned that the hard way and nearly set off my smoke alarm.)
- Whisk in the peanut butter and vanilla extract until the mixture is glossy and smooth. If you see a few teeny lumps, that’s okay—just give it another quick stir.
- Take the pan off the heat, and immediately add Cheerios and oats. Fold everything together with a silicone spatula—stir gently so you don’t turn those crunchy circles into mush. Every piece should get a shiny coat of that buttery-honey goodness.
- Transfer the cereal mix into your prepared pan. Now comes the fun part: press it down really well using the back of a measuring cup or a piece of parchment. This step is non-negotiable if you want bars that actually hold together (trust me).
- Sprinkle the mini chocolate chips evenly over the top, then give ’em a light press so they sink in just a touch.
- Chill in the fridge for at least 30 minutes, or until firm. In a rush? Slide the pan into the freezer for 15–20 minutes (you’ll still want to keep an eye on it).
- Use the parchment overhang to lift the slab out. Place it on a cutting board, grab a sharp knife (wipe it clean after each slice), and cut into 12 bars with neat edges.
See? Easy peasy. And while they’re chilling, you can tackle folding that mountain of laundry—or maybe take a moment and sip some tea.
Variations & Flavor Twists
Want to shake things up? Here are some of my favorite riffs—because life’s too short to make the same bar twice!
- Chocolate-peanut bliss: Stir in 2 Tbsp cocoa powder with the butter-honey mixture (then try not to eat it with a spoon).
- Nutty upgrade: Mix in ¼ cup chopped toasted peanuts, walnuts, or pecans for extra crunch.
- Fruity chew: Fold in ¼ cup dried cranberries, cherries, or golden raisins.
- Protein boost: Add 2 Tbsp vanilla whey or plant protein powder for a workout-friendly snack.
- Drizzle drama: Once bars are set, melt 2 oz dark chocolate and zigzag it on top—fancy bakery vibes!
- Spiced twist: Add a pinch of cinnamon or a dash of pumpkin pie spice to the melted mix for cozy fall feels.
- Seed power: Stir in 2 Tbsp chia seeds or flaxseed meal for a little extra health love.
Storage & Reheating Tips
These bars are total meal-prep champs. Here’s how I keep ’em tasting fresh:
- Fridge life: Store in an airtight container, layered with parchment, for up to one week.
- Freezer life: Stack bars between parchment sheets in a freezer bag and freeze for up to 3 months. Pop out what you need, let thaw 5–10 minutes at room temp, and dive in.
- No microwave necessary—though if you like ’em soft and gooey, zap one bar for 5–7 seconds. (Just watch it, so you don’t end up with molten chocolate lava.)
- Travel tip: Individually wrap bars in wax paper for easy grab-and-go snacks in lunchboxes, tote bags, or that emergency purse stash.
Final Thoughts
Honestly, these Peanut Butter Cheerio Bars have become one of my absolute favorite comfort snacks—no matter the season. They’re sweet without being over-the-top, chewy yet crunchy, and they carry that nostalgic peanut-butter-and-cereal magic we all grew up loving. Plus, they make me look like some kind of snack-time genius every single time I serve them.
So next time you’re staring at a full oven and a pile of hungry faces, take a detour from the bake cycle. Whip up these bars, pour yourself a cup of coffee (or a cozy mug of cocoa), and enjoy a well-deserved moment of calm. Then watch everybody grab seconds—witnessing that happy dance is truly my favorite part!
If you try this recipe, I’d be over the moon to hear how you customized it. Leave me a comment below with your twist (or even your happy mess-ups), and don’t forget to snap a pic and tag me on Instagram. Let’s keep the cozy vibes rolling, one irresistibly easy bar at a time. Happy snacking!
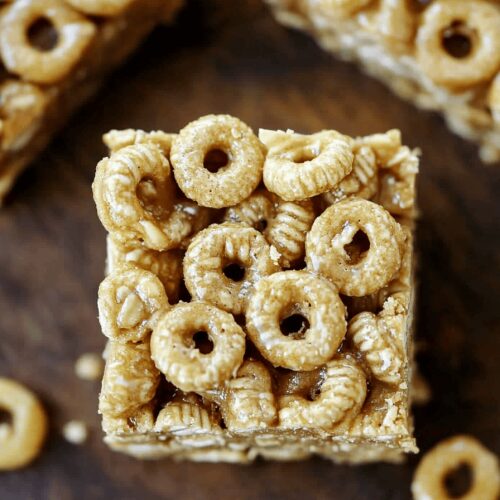
Peanut Butter Cheerio Bars
Ingredients
- 4 cups Cheerios cereal (original or multigrain)
- 1 cup old-fashioned rolled oats
- 1/2 cup smooth peanut butter (natural or store-brand)
- 1/3 cup pure honey (wildflower or clover variety)
- 2 tablespoons unsalted butter
- 1 teaspoon vanilla extract
- Pinch sea salt
- 1/4 cup mini chocolate chips (optional)
Instructions
- Line an 8×8-inch baking pan with parchment paper.
- Melt butter and honey in a saucepan over low heat. Stir in peanut butter and vanilla extract until smooth.
- Remove from heat and add Cheerios and oats. Mix gently.
- Transfer mixture to pan and press down firmly. Sprinkle chocolate chips on top.
- Chill until firm, then cut into bars.