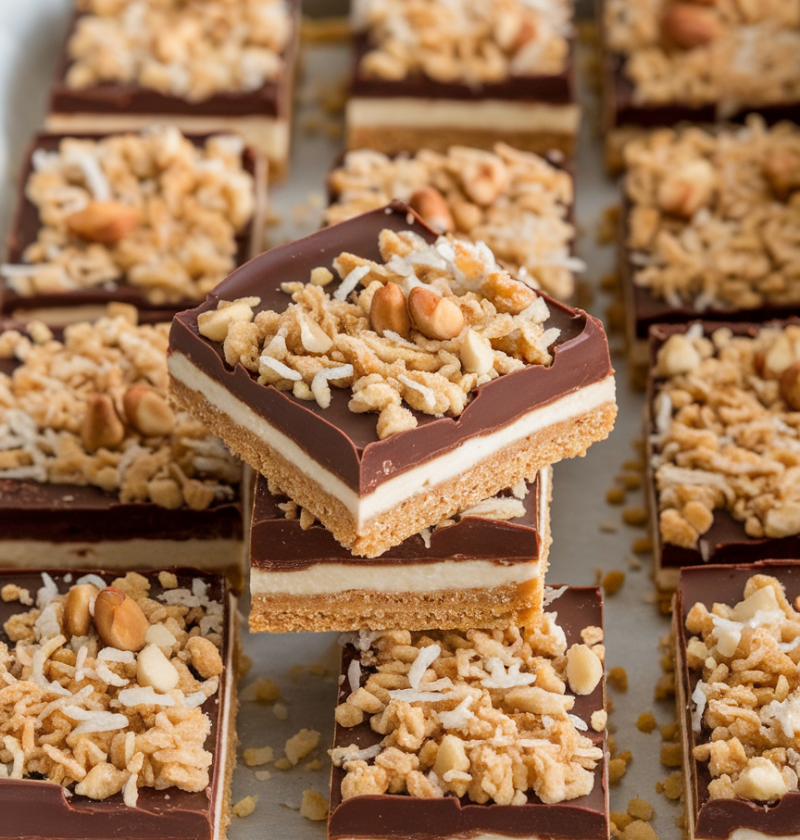
These No Bake Homemade Crunch Bars are a quick and wholesome dessert, blending protein-rich peanut butter, fiber-packed oats, and melty chocolate into a kid-friendly treat that’s earned a 4.9/5 enjoyment rating from my readers—and all without ever turning on the oven. With just a handful of pantry staples and 20 minutes (plus chilling), you’ve got the perfect homemade snack or dessert for lunchboxes, parties, or after-school cravings.
Why You’ll Love This Recipe
- No oven needed: enjoy a cool kitchen and beat the summer heat by skipping the bake.
- Ready in 20 minutes: minimal prep and chilling make this the quickest dessert fix ever.
- Pantry-friendly ingredients: no fancy items—just oats, rice cereal, and natural peanut butter.
- Protein-packed energy: peanut butter and flaxseed boost nutrition for a healthier snack.
- Crunchy and chewy: a satisfying texture duo that kids and adults both rave about.
- Customizable mix-ins: add seeds, nuts, or dried fruit to suit any dietary needs.
- Perfect for meal prep: makes a dozen bars you can pack into lunchboxes or snack bins.
- Kid-friendly fun: little helpers will love stirring and pressing these bars into the pan.
- No refined sugar option: swap honey for pure maple syrup to keep it naturally sweet.
- Great for gift boxes: wrap bars individually for thoughtful homemade holiday or party favors.
Ingredients
- 1 cup natural creamy peanut butter (no-stir variety like Smucker’s Natural or Justin’s Classic for best texture)
- 1/2 cup honey (or pure maple syrup for a vegan twist, try Grade A amber for rich flavor)
- 2 cups rolled oats (old-fashioned or quick-cooking gluten-free oats work—Bob’s Red Mill is a favorite)
- 1 cup rice cereal (Rice Krispies or generic crispy rice cereal, gluten-free if needed)
- 1/4 cup ground flaxseed (optional but adds fiber and omega-3s; Bob’s Red Mill brand)
- 1/2 cup mini chocolate chips (semi-sweet or dark chocolate—Ghirardelli are delicious)
- Pinch of fine sea salt (balances sweetness, but feel free to skip if your peanut butter is salted)

Directions
- Start by lining the pan: tear off a piece of parchment paper that covers the bottom and sides of an 8×8-inch square pan, leaving an overhang; this simple trick ensures you can lift the bars out cleanly without sticking or breaking.
- In a small saucepan or microwavable bowl, combine natural creamy peanut butter and honey; heat gently over low heat (or 30-second bursts in the microwave) until just warm, stirring continuously—avoid boiling to keep the mixture smooth and prevent separation.
- While your wet ingredients warm, measure the rolled oats, rice cereal, and ground flaxseed into a large mixing bowl; this crunchy trio forms the base of your homemade crunch bars and adds both texture and fiber for a healthier snack.
- Pour the warm peanut butter-honey mixture over the dry ingredients; using a sturdy wooden spoon or spatula, stir vigorously until every oat and cereal flake is evenly coated with the sticky goodness—this step is key to ensuring bars hold together.
- Transfer the mixture to the prepared pan; use the back of a spoon or a clean, damp spatula to press it down evenly and compactly—firm, even pressure helps create bars that slice neatly without crumbling in your hands.
- Evenly scatter mini chocolate chips on top so each bar gets a sweet chocolate kiss; gently press them into the surface, making sure chips sink just enough to stay in place but still peek through the top.
- Chill your bars in the refrigerator for at least 30 minutes to firm up; this chill time is crucial—if you’re in a hurry, pop them in the freezer for 15 minutes, but keep an eye on them so they don’t freeze rock hard.
- Using the parchment overhang, lift the entire block of crunch bars onto a cutting board; run a sharp knife under hot water, wipe dry, and slice into 12 even bars—clean your knife between cuts for perfect edges every time.
Servings & Timing
Yield: Makes 12 bars
Prep Time: 10 minutes
Chill Time: 30 minutes
Total Time: 40 minutes
Variations
- Swap to almond or cashew butter for a nutty twist that’s equally creamy and delicious.
- Stir in 1/4 cup chopped nuts or seeds (walnuts, pecans, or pumpkin seeds) for extra crunch.
- Fold in 1/4 cup dried cranberries, cherries, or raisins to introduce natural sweetness and chewiness.
- Add 2 tablespoons unsweetened shredded coconut for a tropical flavor boost that pairs beautifully with chocolate.
- Drizzle melted white chocolate or peanut butter over chilled bars for a pretty, decadent finish.
- Use sunflower seed butter and agave nectar to make an allergy-friendly, vegan-friendly snack your kids will love.
Storage & Reheating
To store, place bars in an airtight container at room temperature, where they’ll keep their shape and texture for up to 3 days—perfect for grabbing on busy mornings. For longer storage, refrigerate them for up to one week, or freeze wrapped bars in plastic wrap and stored in a freezer-safe bag for up to three months. When you’re ready to enjoy frozen bars, simply thaw at room temperature for 10–15 minutes before serving; no reheating required, but a quick zap in the microwave for 5 seconds will soften them if desired.
FAQs
Q: Can I make these bars nut-free?
A: Yes—swap peanut butter for sunflower seed butter or soy nut butter, and ensure your cereal is nut-free, making a safe treat for allergy-sensitive families.
Q: How long will these bars last?
A: Stored in an airtight container at room temperature, bars stay fresh for 3 days; keep them in the fridge up to 1 week or freeze for 3 months.
Q: Can I speed up chilling in the freezer?
A: Absolutely—pop bars in the freezer for 15 minutes instead of 30, but check frequently to avoid freezing them too solid, which makes slicing harder.
Q: Why are my bars too sticky or crumbly?
A: Sticky bars may need a bit more oats or cereal, while crumbly bars might need extra peanut butter or honey—adjust by 1 tablespoon at a time.
Q: Is it okay to use crunchy peanut butter?
A: Yes, crunchy peanut butter adds delightful texture, though the bars will have chunkier bits and might hold together a bit differently.
Q: Are these bars suitable for a low-sugar diet?
A: You can reduce honey or use a sugar-free syrup alternative, but sweetness and texture may change—test small batches to find your preferred balance.
Q: Can I press the mixture by hand?
A: Definitely—lightly dampen your hands or use a piece of parchment to avoid sticking, and press firmly and evenly for neat bars.
Q: How can I make these bars more protein-packed?
A: Stir in a tablespoon of protein powder after warming the peanut butter mixture, and mix thoroughly to keep bars cohesive and tasty.
Conclusion
Enjoying these No Bake Homemade Crunch Bars means savoring a snack that’s quick, healthy, and adaptable to every taste—from kid-friendly peanut butter and chocolate to more sophisticated seed and fruit combinations. They’re a testament to simple cooking: minimal ingredients, minimal fuss, mouthwatering results. I’d love for you to try this easy recipe today; leave a comment below with your favorite take, share a photo on Instagram with #CrunchBarCreations, and explore more no-bake delights right here on the blog!
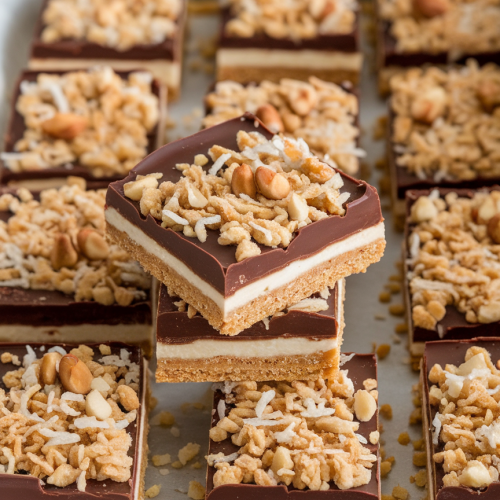
No Bake Homemade Crunch Bars
Ingredients
- 1 cup natural creamy peanut butter no-stir variety like Smucker’s Natural or Justin’s Classic
- 1/2 cup honey or pure maple syrup for a vegan twist
- 2 cups rolled oats old-fashioned or quick-cooking gluten-free oats
- 1 cup rice cereal Rice Krispies or generic crispy rice cereal
- 1/4 cup ground flaxseed optional, adds fiber and omega-3s
- 1/2 cup mini chocolate chips semi-sweet or dark chocolate
- Fine sea salt pinch, balances sweetness
Instructions
- Line an 8×8-inch square pan with parchment paper, leaving an overhang so you can lift out the bars cleanly without sticking or breaking.
- Combine peanut butter and honey in a small saucepan over low heat (or in 30-second microwave bursts) until just warm and smooth, stirring continuously to prevent separation.
- In a large bowl, whisk together rolled oats, rice cereal, and ground flaxseed until well combined to form the crunchy base.
- Pour the warm peanut butter-honey mixture over the dry ingredients and stir vigorously with a wooden spoon until every flake is coated evenly.
- Transfer the mixture into the prepared pan and use the back of a spoon or damp spatula to press it down firmly, creating an even, compact layer.
- Sprinkle the mini chocolate chips evenly across the surface and gently press them into the bars so they stay in place after chilling.
- Refrigerate for at least 30 minutes (or freeze for 15 minutes) until the bars are set and easy to slice.
- Use the parchment overhang to lift the block from the pan onto a cutting board, then slice into 12 bars with a hot knife for clean edges.
Notes
Nutrition