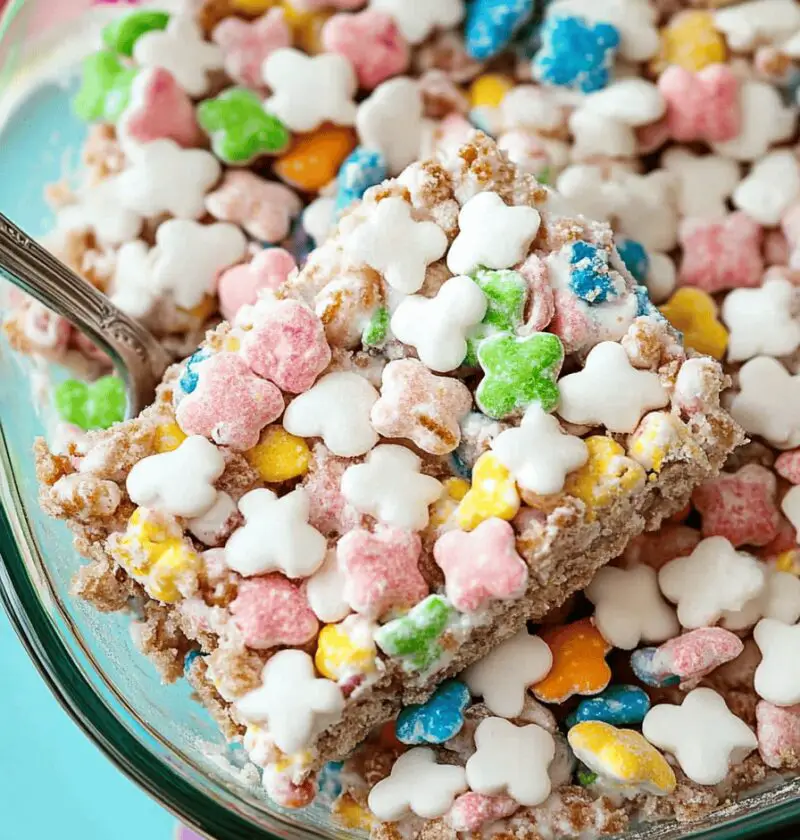
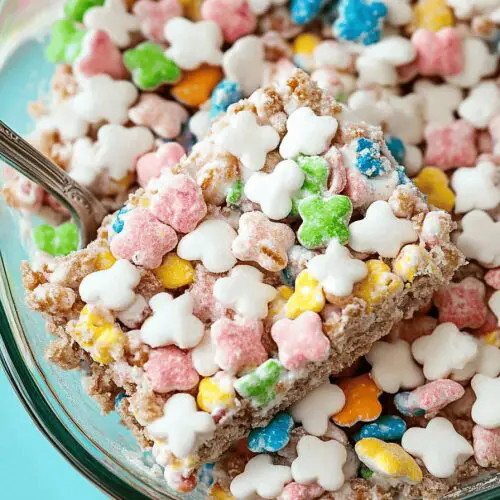
Lucky Charms Treats
You know that feeling when you’re rummaging through the pantry for something sweet, and a half-empty box of Lucky Charms winks at you from the shelf? That was me last March—kids at my kitchen island begging for a festive green snack (thanks, Pinterest!). I decided to turn those pastel marshmallows and crunchy oat bits into gooey, chewy bars. Fast-forward an afternoon of melting butter and marshmallows, and I’d created a new springtime obsession in our house. My grandkids declared them “magically delicious,” and honestly? I’m right there with them.
These Lucky Charms Treats are a total no-bake dream—perfect for when you want something nostalgic, bright, and ready in under an hour. They’ve become my go-to for school bake sales, surprise lunchbox add-ons, or just when I need a little pick-me-up on a rainy day. Best part? You probably have everything on hand already!

Why You’ll Love These Bars
- Totally no-bake—just a saucepan and a pan, that’s it!
- Ready in under an hour (seriously, that includes cooling time).
- Kid-approved and perfect for family projects (messy hands encouraged).
- Customizable for gluten-free or vegan diets with a couple swaps.
- Bright, rainbow-popping marshmallows for any holiday or school event.
- Makes a great gift when cut into bite-size pieces and stacked in a jar.
- Stashes well—ideal for make-ahead dessert bars on busy weeknights.
Ingredient Notes
- Lucky Charms Cereal (6 cups) – I like using the marshmallow-heavy end of the box so you get extra ooey-gooey bits in every bite. Whole-grain Lucky Charms are my fave if you can find them—they add a toasty crunch and a little extra fiber.
- Mini Marshmallows (10 ounces) – About 4 cups. Scoop out an extra handful to fold in at the end for peeks of colorful marshmallow shapes.
- Unsalted Butter (4 tablespoons) – Room temperature is ideal. Swap for coconut oil (same amount) to make these dairy-free.
- Fine Sea Salt (½ teaspoon) – Don’t skip this! A tiny sprinkle cuts through sweetness and brings out that classic marshmallow aroma (yes, really!).
- Pure Vanilla Extract (1 teaspoon, optional) – It’s a small step that deepens flavor. Totally worth it, trust me.
- Nonstick Cooking Spray or Parchment Paper – For lining the pan so bars pop out effortlessly.
Tip: If you’re gluten-sensitive, check that both the cereal and marshmallows are certified gluten-free. And for a lighter twist, stir in up to ½ cup of puffed quinoa or toasted oats—adds chew without loading on sugar.
Step-by-Step Directions
- Line a 9×9-inch baking pan with parchment or spritz it with nonstick spray. This little step is a game-changer for one-piece removal—don’t skip it!
- Over low heat, melt the butter in a medium saucepan until it’s shimmering but not browning (just 30 seconds or so). You want it silky, not nutty.
- Toss in all but ½ cup of the mini marshmallows. Grab a heat-proof spatula and stir gently—keep that burner low so they melt into a glossy blanket. If you see any stubborn lumps, tip the pan away from direct heat and coax them out.
- Pull the pan off the heat. Immediately sprinkle in the salt and vanilla. Give it a quick swirl—breathe in that sweet marshmallow aroma (you’re welcome!).
- Pour in the Lucky Charms cereal and reserved marshmallows. Fold and stir quickly so you don’t lose those cute marshmallow shapes. The mixture should stick together but still show all the rainbow bits.
- Transfer everything to your prepared pan. Lay a piece of parchment or wax paper on top, then press down firmly—use the flat bottom of a measuring cup for even pressure. This ensures your bars hold together without being rock-hard.
- Let the pan rest at room temperature for 30–40 minutes. If you’re impatient (I don’t blame you), pop it in the fridge for 15 minutes and you’ll have razor-sharp slices in no time.
Pro tip: If your pressing tool sticks, give it a quick spritz with cooking spray or wrap it in parchment. Also, a warm knife (run under hot water and dry) makes slicing smooth and easy.
Variations & Flavor Twists
- White Chocolate Drizzle & Pistachios: Melt ¼ cup white chocolate chips, drizzle over cooled bars, and sprinkle chopped pistachios for a fancy flair.
- Sweet & Salty Pretzel Crunch: Stir in ½ cup mini pretzel twists with the cereal for an unexpected salty bite.
- Rainbow Sprinkle Overload: Fold ½ cup rainbow sprinkles into the mix for an extra color-fest. (Warning: joy levels may spike.)
- Peanut Butter Swirl: Drop teaspoons of natural peanut butter on top after pressing, then swirl with a skewer for a sweet-savory combo.
- Coconut & Pistachio: Swap 1 tablespoon of butter for coconut oil, then press toasted shredded coconut on top for a tropical vibe.
- Minty Fresh: Add ½ teaspoon mint extract instead of vanilla for a cool twist perfect around the holidays.
Storage & Reheating Tips
These bars are surprisingly sturdy! Store them in an airtight container at room temperature for up to 3 days—chewy and fresh, just like day one. Need a longer stash? Wrap each bar individually in wax paper and freeze for up to one month. When you’re ready, let them thaw on the counter for 10–15 minutes (or toss straight into lunchboxes!).
If they chill too firm, a 10-second zap in the microwave brings back that ooey-gooey magic—and who doesn’t love a little extra marshmallow pull?
Final Thoughts
There you have it—bright, fun, and utterly comforting Lucky Charms Treats that practically beg for sprinkles and smiles. Whether you’re making them with your kiddos, gifting them to neighbors, or sneaking a square after dinner, they’re guaranteed to spark a little nostalgia and a lot of happiness. Give this recipe a whirl, then come back and tell me about your favorite twist—did you try the peanut butter swirl? Or maybe you went full sprinkle madness? Drop a comment below, share your photos, or ask any questions. I can’t wait to hear how you make these your own!
Happy munching, friends!
Lucky Charms Treats
Ingredients
- 6 cups Lucky Charms cereal (marshmallow-heavy end of the box)
- 10 ounces mini marshmallows (save a handful for stirring in extra marshmallow bits)
- 4 tablespoons unsalted butter (room temp; can swap coconut oil for dairy-free)
- ½ teaspoon fine sea salt balances sweetness
- 1 teaspoon pure vanilla extract optional, but it amps up flavor
- Nonstick cooking spray or parchment paper (for lining the pan)
Instructions
- Line a 9×9-inch pan with parchment or mist it with nonstick spray for easy removal.
- In a saucepan, melt butter, then add mini marshmallows and stir until melted and glossy.
- Remove from heat and stir in salt and vanilla extract to enhance flavor.
- Fold in Lucky Charms cereal and reserved marshmallows, then transfer mixture to the pan and press down firmly.
- Let cool for 30–40 minutes, then slice into bars. Chilling in the fridge briefly makes cutting easier.