Hey there, bread enthusiast—you know how sometimes a busy afternoon makes you crave something cozy yet homemade? The idea of yeast, proofing, kneading… life just doesn’t always cooperate. I’ve been there, craving fresh bread but strapped for time.
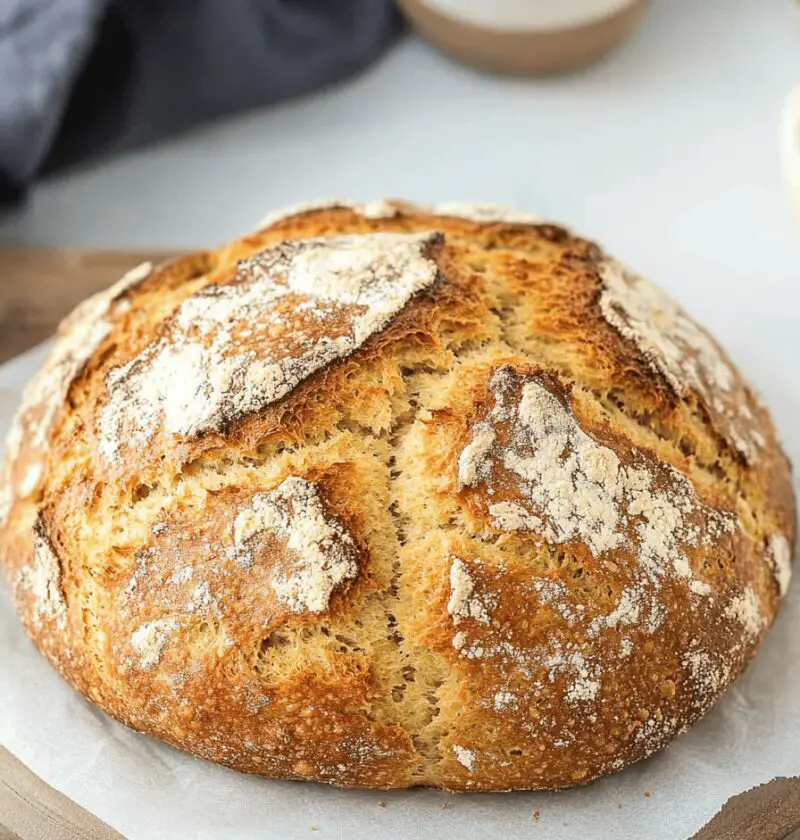
That’s where Irish soda bread comes in: a one-bowl wonder that delivers a crackly crust and tender, tangy crumb in under an hour. No yeast, no fuss—just simple ingredients that live in every pantry, ready to shine. This loaf brings a rustic charm whether you’re spooning soup or slathering butter on morning toast.

Before we get into the nitty-gritty, know that this soda bread is one of those rare wins that feels fancy but demands zero heroics. I whip it up when the kitchen still smells faintly of last night’s curry, or when I need something that pairs perfectly with my morning coffee and scattered to-do lists. It’s basically therapy in a mixing bowl.
Why You’ll Love It
Imagine skipping the usual bread routine—no waiting around, no hours of kneading, yet ending up with that mouthwatering golden crust. Seriously, this loaf is like a backstage pass to cozy vibes, whether it’s a blustery morning or a relaxed dinner at home.
- Quick turnaround: ready from pantry-to-table in about 50 minutes.
- Minimal equipment: one bowl, a spoon, and a baking sheet.
- Basic staples: flour, baking soda, salt, sugar, buttermilk, butter.
- Customizable: raisins, seeds, cheese—or go wild with mix-ins.
- Rustic look that feels both festive and homespun.
- Pairs with everything: coffee, soup, stew, jam—you name it.
One bite and you’ll see why generations of home cooks have turned to soda bread when time is tight but taste matters.
Timing and Servings
- Yield: One 8-slice loaf (serves about 6 people)
- Prep Time: 10 minutes
- Bake Time: 30–35 minutes
- Total Time: 45–50 minutes (including a brief cool-down)
Ingredients
- 4 cups (480 g) all-purpose flour, plus extra for dusting
- 1 tsp baking soda (6 g)
- 1 tsp kosher salt (6 g)
- 1 Tbsp granulated sugar (optional, 12 g)
- 2 cups (480 ml) buttermilk, well shaken (or milk + lemon juice mix)
- 2 Tbsp unsalted butter, melted (plus extra for brushing)
- 1 cup (150 g) raisins or currants (optional)
Directions
- Preheat the oven to 425 °F (220 °C). Line a baking sheet with parchment or grease it lightly to coax out a crisp crust.
- In a large bowl, whisk together flour, baking soda, sugar, and salt until smooth—no hidden lumps.
- Make a well in the center. Pour in buttermilk and melted butter, then fold with a wooden spoon or spatula until a shaggy dough forms. Overmixing leads to a dense crumb, so stop once the flour is just moistened.
- Gently fold in raisins if you’re using them, making sure they’re evenly distributed.
- Turn the dough onto a floured surface and shape into a round about 6–7 inches across. Tuck the edges under to support the loaf’s structure.
- Place on your prepared sheet. With a sharp knife, cut a deep cross on top—tradition and ventilation rolled into one.
- Brush the surface with extra buttermilk or melted butter for a golden sheen.
- Bake 30–35 minutes, rotating the pan halfway through. The loaf is done when it’s rich golden and sounds hollow when tapped. An internal thermometer should read about 190 °F (88 °C).
- Let rest on a rack for at least 10 minutes before slicing. That brief pause lets the crumb set so you get clean, beautiful slices.
Variations
- Cheddar & Chive: Fold in 1 cup shredded sharp cheddar and 2 Tbsp chopped chives for a savory twist.
- Whole-Wheat Blend: Swap half the flour for whole-wheat for extra fiber and a nutty flavor.
- Sweet Fruit: Add ½ cup mixed dried fruit and replace sugar with honey for a brunch-ready loaf.
- Gluten-Free: Use a 1:1 gluten-free flour blend plus an extra teaspoon baking powder to help it rise.
- Vegan: Replace butter with coconut oil and use dairy-free yogurt thinned with water as your “buttermilk.”
- Pumpkin Spice: Stir in ⅓ cup pumpkin puree and 1 tsp pumpkin pie spice for autumn vibes.
Storage & Reheating Tips
- At room temperature: Wrap the cooled loaf in a clean tea towel and keep it loosely covered for up to 2 days. The fabric keeps moisture in check while avoiding sogginess.
- Freezing: Slice the loaf, wrap each piece in foil, and freeze up to 3 months. Thaw overnight in the fridge, then warm at 350 °F (175 °C) for about 10 minutes to revive that crusty exterior.
FAQs
What’s the difference between soda bread and yeast bread?
Soda bread relies on baking soda plus acid (buttermilk) to rise instantly—no proofing required. Yeast bread has a chewier texture and more pronounced flavor but takes hours of rising.
Can I use baking powder instead of baking soda?
Yes. Use 1 Tbsp baking powder and skip the buttermilk swap. You’ll still end up with a tasty loaf, though it’ll be less tangy.
Why did my loaf turn out dense?
Overmixing is usually the culprit, or your baking soda might be past its prime. Stir until the flour is just moistened and test your leavening by dropping a pinch into vinegar—if it fizzes, you’re good.
Do I have to score the top?
No, but that cross helps steam escape and gives the bread its signature look. Plus, it’s a nod to Irish tradition.
Can I add seeds or nuts?
Absolutely—think pumpkin seeds, sunflower seeds, or chopped walnuts for extra crunch.
How do I know it’s baked through?
Tap the bottom; a hollow sound means it’s ready. Or use an instant-read thermometer—190 °F (88 °C) at the center is spot on.
Why is my crust too hard?
If it’s overly tough, tent the loaf with foil during the last 10 minutes. That softens the surface without sacrificing color.
Can I make mini loaves or rolls?
Sure thing. Divide the dough into smaller rounds and shave off about 10–12 minutes of baking time for adorable dinner rolls.
Conclusion
Irish soda bread is a rare kitchen victory—quick, forgiving, and utterly delicious. No need for yeast sessions or marathon proofing. Mix, shape, bake, and before long you’re slicing into a loaf that feels both homey and impressive. Give it a whirl next time you crave something warm and no-fuss. And hey, don’t forget to share your creation on Instagram @HomesteadCook—because good bread and good company go hand in hand. Happy baking!