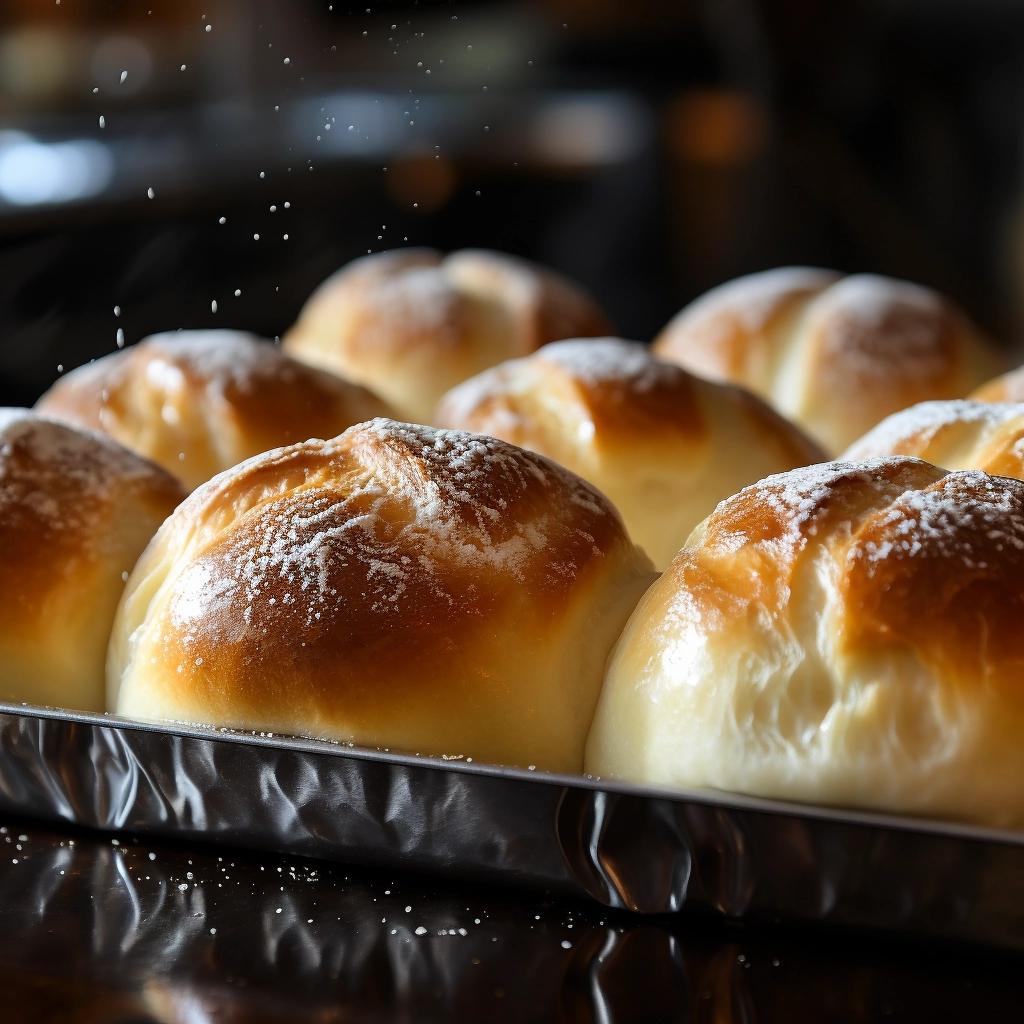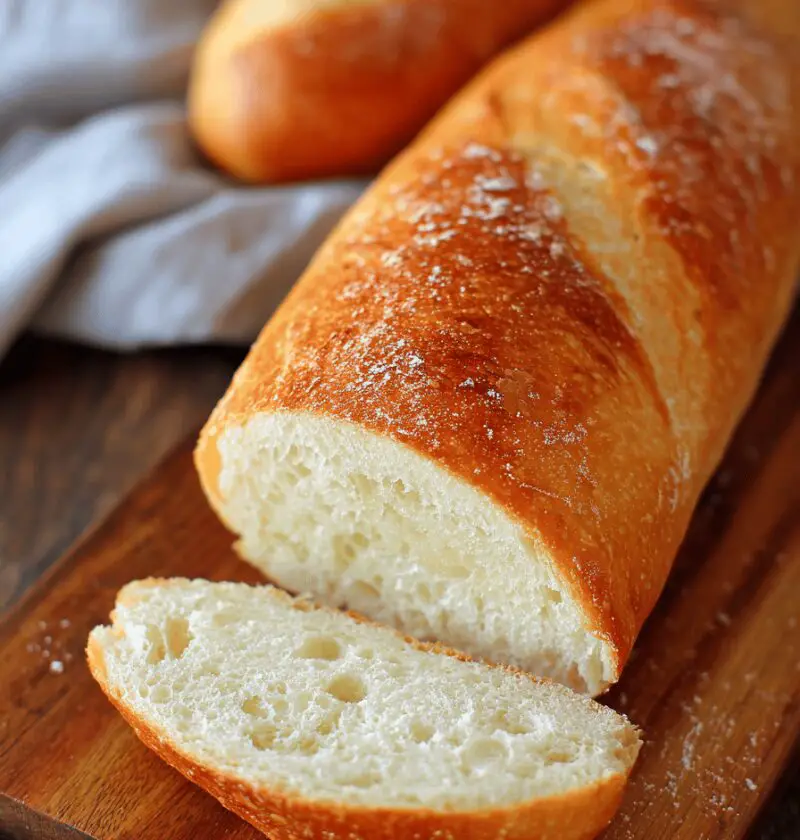
French Bread Recipe
This homemade French Bread Recipe yields a crusty, artisan-style baguette with a soft interior, perfect for an easy, delicious meal or starter any day of the week.
Full Recipe Introduction:
I still remember the first time I learned to bake a classic French baguette—at a little boulangerie in Marseille, the scent of yeast and caramelized crust felt like home. Fast forward to my cozy kitchen in suburban Ohio, and I’ve turned that traditional technique into a straightforward recipe that anyone can master. You might think baking bread is complicated—but really, it’s just flour, water, salt and time. This loaf strikes the perfect balance: enough fermentation for deep flavor without an all-day commitment.
What makes it extra special is minimal ingredients—no unfamiliar additives—and total control over your dough’s texture. I love serving it warm with a slather of herbed butter or alongside a hearty tomato soup at Sunday brunch. During last Christmas, I tucked a loaf into gift baskets for neighbors, and everybody raved about that crackly crust.
A quick note on hydration: this no-starter baguette clocks in around 70% hydration (that’s water weight relative to flour), giving you airy bubbles inside while still keeping the dough manageable. Nutritional snapshot: each 1-inch slice (about 30g) has roughly 90 calories, 3g protein and 1g fiber, so you can plan a balanced meal when you pile on avocado or turkey.
Why You’ll Love This Recipe
– Truly crusty exterior meets pillowy interior—like a weekend at a French bakery.
– Just four pantry staples—no fancy ingredients required.
– Hands-on or mixer-friendly—choose whichever you prefer.
– Flexible: swap in whole wheat or gluten-free blends.
– Active time under 20 minutes—simple and forgiving.
– Perfect for sharing—a crowd-pleasing meal or starter.
– Kid-approved dough: little helpers will adore shaping baguettes.
Ingredients
– 4 cups (500g) unbleached bread flour (King Arthur Flour yields consistent results)
– 1½ cups (360ml) lukewarm water (around 95°F to wake up the yeast)
– 1 teaspoon active dry yeast (or instant yeast—no proofing needed)
– 2 teaspoons fine sea salt (any kosher salt works; avoid iodized)
– 1 teaspoon granulated sugar (optional—helps yeast bloom faster)
Tip: A digital scale boosts accuracy, but measuring by cups works too if you level each one.

Directions
1. Activate the yeast. In a large bowl, stir 1½ cups lukewarm water and 1 teaspoon sugar, then sprinkle 1 teaspoon active dry yeast over the top. Let rest 5–7 minutes until it’s bubbly—think tiny suds on the surface.
2. Combine flour and salt. Add 4 cups bread flour and 2 teaspoons sea salt to the yeast mix. Stir with a wooden spoon until no dry patches remain. The dough will look ragged at first.
3. Knead gently. Turn the dough onto a lightly floured counter and knead for 8–10 minutes until it springs back when poked. If you prefer, use a stand mixer with the dough hook on low speed for 6–8 minutes.
4. First rise. Lightly oil the same bowl, return the dough, cover with plastic wrap or a damp towel, and let it proof at room temperature for about 1½ hours, until nearly doubled.
5. Shape the baguettes. Gently deflate the dough and divide it into two equal portions. Roll each into a log about 14–16 inches long, tapering the ends slightly. Keep the seam side down.
6. Final proof. Place loaves on a well-floured couche or parchment-lined baking sheet. Cover loosely and let rise 30–40 minutes until puffy. Meanwhile, preheat your oven to 450°F with a baking stone or an inverted sheet pan on the center rack.
7. Score and steam. Using a razor blade or sharp knife, make 3–4 diagonal slashes on each loaf. Quickly mist the oven walls with water or toss a few ice cubes in a preheated pan on the bottom rack for steam—this gives you that signature crusty finish.
8. Bake. Slide the loaves onto the hot stone or pan and bake 20–25 minutes, rotating halfway, until the crust is deep golden. The interior temperature should reach about 200°F.
9. Cool. Transfer bread to a wire rack and let rest at least 20 minutes before slicing—this sets the crumb and keeps it from getting gummy.
Servings & Timing
Makes 2 large baguettes (about 14–16 inches each)
Prep Time: 20 minutes active
Rise/Rest Time: 2–2½ hours (including proofs)
Bake Time: 20–25 minutes
Total Time: Approximately 3 hours
Variations
– Whole Wheat Blend: Substitute 1 cup bread flour with whole wheat for nutty flavor.
– Olive & Rosemary: Gently fold in 1 tablespoon chopped rosemary and drizzle 1 tablespoon olive oil into the dough.
– Garlic Herb Twist: Brush loaves with melted garlic butter just before baking.
– Gluten-Free Version: Use a certified 1:1 gluten-free flour and add 1 teaspoon xanthan gum.
– Seeded Top: After scoring, sprinkle sesame or poppy seeds for extra crunch.
Storage & Reheating
Store at room temperature in a paper bag for up to 2 days. For longer life, slice and freeze in a sealable bag for up to 3 months. To reheat, wrap slices in foil and warm at 350°F for 10 minutes, or toast directly. Make-ahead tip: Bake, cool completely, then freeze—reheat right before serving for that fresh-from-the-oven vibe.
Notes
• Hydration tweak: If your climate is drier, add up to 2 tablespoons extra water for an open crumb.
• Yeast check: If foam doesn’t form in step 1, your yeast may be old—swap it out.
• Scoring style: A quick, confident slash yields the best bloom; hesitate and the cut may seal up.
• Flavor boost: Let dough rise in the fridge overnight for deeper taste—just bring it back to room temp before shaping.
FAQs
Q: Can I use instant yeast instead of active dry?
A: Yes—just stir it into the flour directly, skip the proofing step, and proceed.
Q: Why is my crust too hard?
A: You might have baked it too long or at too high heat; drop the temp by 25°F next time.
Q: My crumb is dense—what went wrong?
A: Either you under-kneaded or skipped the full rise—ensure it doubles before shaping.
Q: Can I make dough the night before?
A: Absolutely—cover it and refrigerate after step 2, then shape and bake the next morning.
Q: Do I need a baking stone?
A: A stone helps heat retention but an inverted sheet pan works just fine.
Q: Why didn’t my dough rise?
A: Check your yeast’s freshness and the water temperature; it should feel warm, not hot.
Q: Can I bake this as smaller rolls?
A: Yes—divide into 8 pieces, shape rolls, and bake 15–18 minutes for golden dinner rolls.
Q: Is bread flour necessary?
A: Bread flour boosts gluten for structure, but you can use all-purpose—expect a slightly softer crust.
Conclusion
This French Bread Recipe brings the bakery right to your home kitchen, marrying traditional flavor with everyday ease. Give it a whirl this weekend—then drop a comment below or star it on Pinterest so you can find it again. If you loved this crusty loaf, you might also enjoy my creamy tomato soup or my sourdough starter guide—happy baking!
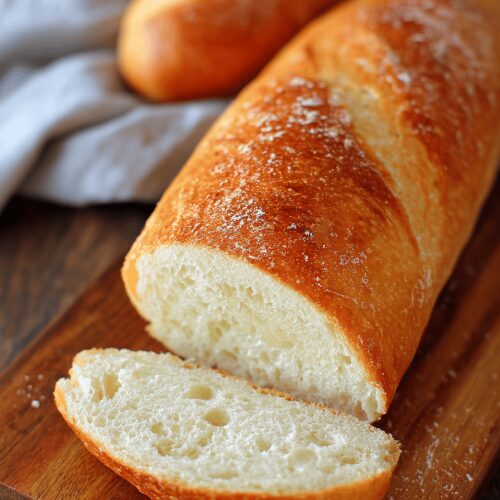
French Bread Recipe
Ingredients
- 4 cups unbleached bread flour King Arthur Flour yields consistent results
- 1½ cups lukewarm water around 95°F to wake up the yeast
- 1 teaspoon active dry yeast or instant yeast—no proofing needed
- 2 teaspoons fine sea salt any kosher salt works; avoid iodized
- 1 teaspoon granulated sugar optional—helps yeast bloom faster
Instructions
- In a large bowl, stir lukewarm water and sugar, then sprinkle active dry yeast over the top. Let rest 5–7 minutes until it’s bubbly—think tiny suds on the surface.
- Add bread flour and sea salt to the yeast mix. Stir with a wooden spoon until no dry patches remain. The dough will look ragged at first.
- Turn the dough onto a lightly floured counter and knead for 8–10 minutes until it springs back when poked. If you prefer, use a stand mixer with the dough hook on low speed for 6–8 minutes.
- Lightly oil the same bowl, return the dough, cover with plastic wrap or a damp towel, and let it proof at room temperature for about 1½ hours, until nearly doubled.
- Gently deflate the dough and divide it into two equal portions. Roll each into a log about 14–16 inches long, tapering the ends slightly. Keep the seam side down.
- Place loaves on a well-floured couche or parchment-lined baking sheet. Cover loosely and let rise 30–40 minutes until puffy. Meanwhile, preheat oven to 450°F with a baking stone or an inverted sheet pan on the center rack.
- Using a razor blade or sharp knife, make 3–4 diagonal slashes on each loaf. Quickly mist the oven walls with water or toss a few ice cubes in a preheated pan on the bottom rack for steam—this gives you that signature crusty finish.
- Slide the loaves onto the hot stone or pan and bake 20–25 minutes, rotating halfway, until the crust is deep golden. The interior temperature should reach about 200°F.
- Transfer bread to a wire rack and let rest at least 20 minutes before slicing—this sets the crumb and keeps it from getting gummy.