Royal Icing With Meringue Powder
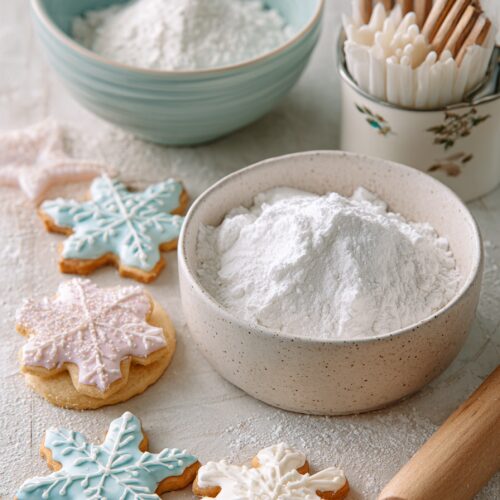
A glossy, egg-free royal icing made with meringue powder that’s perfect for cookie decorating, gingerbread houses, and cake details. Easy to adjust from stiff peaks to piping and flood consistencies, kid-friendly, and ideal for making ahead.
Ingredients
- 4 cups powdered sugar 1 lb / 454 g, sifted (confectioners’ sugar)
- 3 tablespoons meringue powder such as Wilton, CK, or Americolor; make sure it’s fresh
- 6-8 tablespoons warm water start with 6 tablespoons, add more as needed for desired consistency
- 1 teaspoon pure vanilla extract use clear vanilla for bright white icing
- 1/4-1/2 teaspoon almond extract optional; gives classic bakery flavor, avoid for nut allergies
- 1/4 teaspoon cream of tartar optional; adds stability and volume
- gel food coloring as needed; use gel colors so you don’t thin the icing
Instructions
- Add the sifted powdered sugar and meringue powder to the bowl of a stand mixer fitted with the paddle attachment (or use a large bowl and electric hand mixer). Measure out the warm water, vanilla, almond extract (if using), and cream of tartar (if using) so they are ready to add.
- On low speed, mix the powdered sugar, meringue powder, and cream of tartar (if using) for 15–30 seconds to distribute the meringue powder evenly.
- With the mixer on low, add the vanilla extract, almond extract (if using), and 6 tablespoons of warm water. Mix on low speed at first so the powdered sugar doesn’t fly out of the bowl.
- Increase the mixer speed to medium-high and beat for 4–5 minutes, scraping down the sides once or twice, until the icing is thick, glossy, and holds stiff peaks that do not collapse when you lift the beater. If the mixture is crumbly or too thick, add water 1 teaspoon at a time. If it is too thin and doesn’t hold peaks, add powdered sugar 1–2 tablespoons at a time. This is your stiff royal icing base.
- Transfer a portion of the stiff icing to a separate bowl. Add warm water 1/2 teaspoon at a time, stirring gently by hand, until the icing falls off the spoon in a thick ribbon that slowly melts back into itself in about 10–15 seconds. Use this for outlining cookies and basic piping work.
- Transfer another portion of the stiff icing to a clean bowl. Add warm water a few drops at a time, stirring gently, until the icing smooths out on the surface in about 8–10 seconds when you drizzle it back into the bowl. A toothpick dragged through the surface should leave a line that disappears after a few seconds, but not immediately. Use this for flooding and filling in larger areas.
- Divide the icing into small bowls for each color. Add gel food coloring a tiny amount at a time using a toothpick or skewer tip. Stir well and let the icing sit for a minute before adjusting, as colors deepen over time. For deep reds and blacks, color a few hours ahead so the shades can develop.
- Transfer icing to piping bags fitted with small round tips (Wilton #1–#3) for outlines and detail work. Use separate bags or squeeze bottles for flood consistency icing. Fill bags only 1/3–1/2 full so they are easier to handle.
- Outline completely cooled cookies with piping-consistency icing and let the outlines set for 5–10 minutes. Fill (flood) inside the outlines with flood-consistency icing. Use a toothpick or scribe tool to nudge icing into corners and pop any air bubbles.
- Allow decorated cookies to dry at room temperature until the icing is fully set. Depending on thickness and humidity, this usually takes 8–12 hours, and up to 24 hours for very thick areas. The surface should feel firm and not tacky before stacking or packaging.
Notes
Storage: For same-day or next-day use, store icing in an airtight container at room temperature with plastic wrap pressed directly on the surface for up to 24 hours. For 3–5 days, refrigerate in an airtight container; bring to room temperature and stir gently before using, adding a few drops of warm water if needed. For up to 1 month, freeze in freezer-safe containers or sealed piping bags. Thaw overnight in the refrigerator, then bring to room temperature and stir. Decorated cookies: Once the royal icing is fully dry, store cookies in an airtight container at room temperature for 7–10 days, separating layers with parchment if stacking.
Tips: Humidity slows drying; a small fan on low, aimed near (not directly at) the cookies, can help. Consistency is key—keep a little extra stiff icing on hand to thicken any batch that gets too runny. Dark colors like red, navy, and black deepen over time, so mix them early. Avoid overmixing after thinning to reduce air bubbles. Practice piping on parchment if you’re new to royal icing.
Nutrition
Calories: 70kcal
Love this recipe?Follow us at @thenandnowspace for more