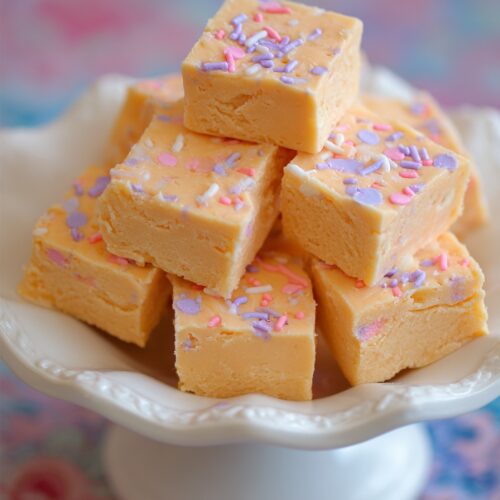
Orange Creamsicle Fudge
This Orange Creamsicle Fudge is a no-bake, stovetop fudge made with sweetened condensed milk and white chocolate, swirled with bright orange and creamy vanilla for a nostalgic, melt-in-your-mouth treat.
Ingredients
- 3 cups white chocolate chips about 540 g; use good-quality chips for best texture
- 1 can sweetened condensed milk 14 oz / 396 g; do not use evaporated milk
- 4 tablespoons unsalted butter cut into pieces
- 1 teaspoon pure vanilla extract
- 1 1/2 teaspoons orange extract or 1 tsp orange extract + 1/2 tsp pure orange oil
- 1/2 teaspoon fine sea salt or 1/4 teaspoon table salt
- 2-3 teaspoons orange zest finely grated, from 1 large orange
- 4-6 drops orange gel food coloring or a mix of yellow and red gel to reach a soft orange color
- extra orange zest optional, for sprinkling on top
- white sanding sugar or sprinkles optional, for garnish
Instructions
- Line an 8x8-inch (20x20 cm) baking pan with parchment paper, leaving some overhang on two sides to lift the fudge out later. Lightly spray the parchment with nonstick spray if needed.
- Add about 1 inch of water to a medium saucepan and bring it to a gentle simmer, then reduce the heat to low. Place a heat-safe bowl over the pan, ensuring the bottom of the bowl does not touch the water.
- To the bowl, add the white chocolate chips, sweetened condensed milk, and butter. Stir slowly and constantly with a heatproof spatula as the mixture melts. Continue until completely smooth and glossy with no lumps, about 3–5 minutes. If it thickens too fast, briefly remove the bowl from the heat, then return it.3 cups white chocolate chips, 1 can sweetened condensed milk, 4 tablespoons unsalted butter
- Remove the bowl from the heat. Stir in the vanilla extract, orange extract, salt, and orange zest until evenly combined. The mixture should be thick but pourable.1 teaspoon pure vanilla extract, 1 1/2 teaspoons orange extract, 1/2 teaspoon fine sea salt, 2-3 teaspoons orange zest
- Pour about one-third of the fudge mixture into a separate small bowl to create the vanilla cream portion and set aside. To the remaining two-thirds in the main bowl, add orange gel food coloring a drop at a time, stirring between additions until you achieve a soft creamsicle orange color.4-6 drops orange gel food coloring
- Pour half of the orange-colored mixture into the prepared pan and spread it into an even layer. Quickly spoon dollops of the reserved white vanilla mixture across the top, then spoon the remaining orange mixture over and around the white dollops.
- Using a butter knife or skewer, gently pull through the layers in a figure-8 motion to create swirls. Make four to six passes so you keep good contrast between orange and white. If desired, sprinkle extra orange zest and/or white sanding sugar or sprinkles over the top.extra orange zest, white sanding sugar or sprinkles
- Transfer the pan to the refrigerator and chill for at least 2 hours, or until the center is firm to the touch. For neater slices, chill 3–4 hours or overnight.
- Use the parchment overhang to lift the fudge from the pan onto a cutting board. With a sharp knife, cut into 1- to 1 1/2-inch squares, wiping the knife between cuts for clean edges. Serve chilled or at cool room temperature.
Notes
For best texture, melt the white chocolate over gentle heat and stir constantly to avoid graininess. Adjust orange extract to taste if you prefer a stronger or milder citrus flavor, and zest carefully to avoid the bitter white pith. This fudge is rich, so smaller squares are ideal. Keep the tray chilled on hot days and bring out small portions at a time. The fudge is often even better the next day as the flavors meld.
Love this recipe?Follow us at @thenandnowspace for more