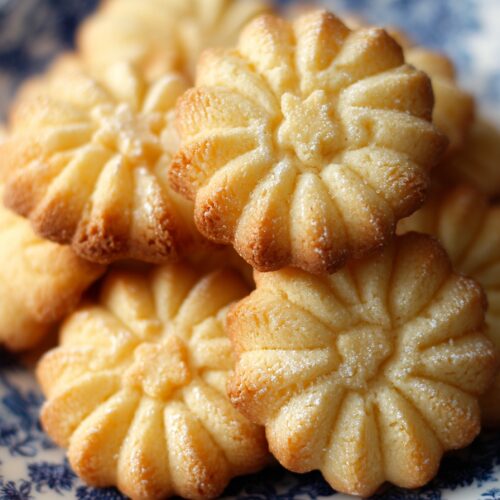
Danish Butter Cookies
Buttery, crisp, and wonderfully simple, these Danish Butter Cookies recreate the classic "blue tin" cookies at home—perfect for gifting, holidays, or an easy, nostalgic treat.
Ingredients
- 1 cup unsalted butter 226 g, very soft but not melted; use good-quality high-fat butter, European-style if possible
- 3/4 cup granulated sugar 150 g; regular fine granulated sugar
- 1 large egg room temperature
- 2 teaspoons pure vanilla extract can swap 1 teaspoon for vanilla bean paste for more aroma
- 1/4 teaspoon almond extract optional but lovely; adds classic bakery-style flavor
- 2 cups all-purpose flour 240 g, spooned and leveled; do not pack
- 1/4 teaspoon fine sea salt balances sweetness and enhances flavor
- 2-3 teaspoons whole milk or heavy cream use only as needed to loosen dough for piping
- coarse sugar or sanding sugar optional, for topping/sprinkling before baking
Instructions
- Preheat your oven to 350°F (175°C). Line two baking sheets with parchment paper or silicone baking mats. Do not grease the pans, as extra fat can cause the cookies to spread.
- In a large mixing bowl, beat the softened unsalted butter and granulated sugar with a hand mixer or stand mixer fitted with the paddle attachment on medium speed for 3–4 minutes, until light, fluffy, and slightly paler. Scrape down the sides of the bowl once or twice while mixing.1 cup unsalted butter, 3/4 cup granulated sugar
- Beat in the egg, vanilla extract, and optional almond extract on medium speed just until fully combined and smooth, about 30–45 seconds. If the mixture looks slightly curdled at first, continue mixing until it becomes smooth.1 large egg, 2 teaspoons pure vanilla extract, 1/4 teaspoon almond extract
- In a separate bowl, whisk together the all-purpose flour and fine sea salt. Add this dry mixture to the butter mixture in two additions, mixing on low speed after each just until no dry streaks remain. Avoid overmixing to keep the cookies tender and crisp.2 cups all-purpose flour, 1/4 teaspoon fine sea salt
- Check the texture of the dough. It should be soft and thick, similar to very stiff frosting. If it is too firm to pipe, beat in 1 teaspoon of milk or cream at a time, up to about 2–3 teaspoons total, until it passes through your piping tip with steady pressure. If it becomes too soft, chill the bowl in the refrigerator for about 10 minutes.2-3 teaspoons whole milk or heavy cream
- Transfer the dough to a large piping bag fitted with an open star tip (such as Wilton 1M or Ateco 826). Add the dough in batches and press it down to eliminate air pockets. Twist the top of the bag to maintain consistent pressure while piping.
- Pipe 2–2.5 inch circles, rosettes, rings, or 'C' shapes onto the prepared baking sheets, spacing them about 2 inches apart. For a traditional look, pipe small rings or crescents. If desired, sprinkle some cookies with coarse or sanding sugar for extra sparkle and crunch.coarse sugar or sanding sugar
- Place the baking sheets with the piped cookies in the refrigerator for 15–20 minutes. This brief chill helps the cookies keep their defined ridges and prevents excessive spreading during baking.
- Bake one tray at a time for 10–14 minutes, rotating the pan halfway through baking. The edges should be just turning light golden brown while the centers remain pale. This color contrast is key for a crisp texture without overbrowning.
- Allow the cookies to cool on the baking sheet for about 5 minutes, then transfer them carefully to a wire rack to cool completely. They will firm up as they cool, so don’t worry if they feel slightly soft at first.
- Pipe and bake any remaining dough, chilling the trays between batches if your kitchen is warm. Once the cookies are completely cool, serve them with coffee, tea, or cocoa, or pack them into tins for gifting.
Notes
Butter should be very soft but not melted for easy piping and good shape retention. For the classic "tin" look, use a large open star piping tip and apply slow, steady pressure for even ridges. Aim for just-light golden edges for the best buttery flavor without overtoasting. If you’re unsure about bake time or spread, test-bake 3–4 cookies first and adjust as needed. On very humid days, the dough may feel softer and cookies may spread more; chill piped cookies a bit longer in that case.
Nutrition
Calories: 90kcal
Love this recipe?Follow us at @thenandnowspace for more