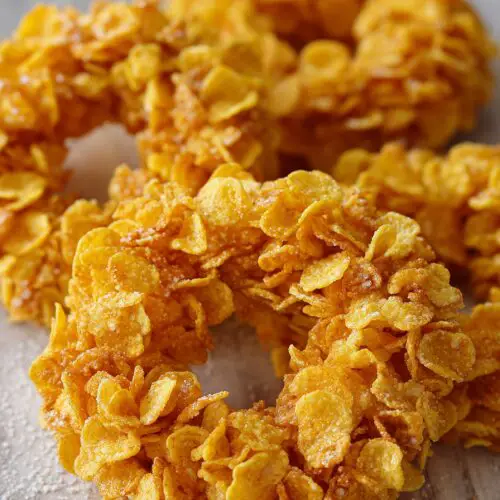
Cornflake Wreaths
These no-bake Cornflake Wreaths are festive, chewy, marshmallow-and-butter treats shaped like tiny Christmas wreaths, dotted with red candies. They come together on the stovetop in under an hour and are perfect for holiday cookie trays, gift tins, and kids’ baking projects.
Ingredients
- 5 cups cornflakes cereal use fresh, crisp cornflakes so they stay crunchy
- 3 tablespoons unsalted butter or use salted butter and omit added salt
- 30 large marshmallows about 10 oz; or use 4 cups mini marshmallows
- 1 teaspoon pure vanilla extract
- 1/4 teaspoon fine sea salt omit if using salted butter
- 1/2–3/4 teaspoon green gel food coloring start with 1/2 teaspoon and adjust to desired color
- 1/2 cup red cinnamon candies or mini red M&M’s for “holly berries” on each wreath
- nonstick cooking spray or softened butter for greasing hands, spoon, and tools
- 1/4 teaspoon almond extract optional, for a subtle nutty, bakery-style flavor
- 2 tablespoons finely crushed freeze-dried raspberries optional, sprinkled on top for tart contrast
Instructions
- Line 2 large baking sheets with parchment paper or silicone baking mats. Lightly grease a spoon and your hands with softened butter or nonstick cooking spray so the mixture won’t stick when shaping.
- In a large, heavy-bottomed pot over low heat, gently melt the butter. Do not let it brown or it may affect the bright green color of the wreaths.
- Add the marshmallows to the melted butter. Cook over low heat, stirring often, until completely melted and smooth with no visible lumps. If the marshmallows begin to brown on the edges, reduce the heat.
- Remove the pot from the heat. Stir in the vanilla, fine sea salt, and optional almond extract. Add green gel food coloring a little at a time, stirring well after each addition, until you reach a bright Christmas-tree green. Keep in mind the color will lighten slightly once you add the cornflakes.
- Add the cornflakes to the pot. Using a spatula or wooden spoon, gently fold the flakes into the marshmallow mixture until every flake is well coated, taking care not to crush them too much so you keep a nice crunchy texture.
- Working fairly quickly before the mixture firms up, scoop heaping tablespoonfuls of the coated cornflakes onto the prepared baking sheets. With greased fingers, gently flatten each mound and use your fingers to poke a small hole in the center, shaping each portion into a wreath. Slightly uneven, rustic shapes are perfectly fine.
- While the wreaths are still warm and sticky, press 3–4 red cinnamon candies or mini red M&M’s onto each one to look like holly berries. If using, lightly sprinkle crushed freeze-dried raspberries over the tops for extra color and tartness.
- Allow the wreaths to cool at room temperature for 20–30 minutes, or until firm enough to lift without bending. If your kitchen is very warm, place the baking sheets in the refrigerator for about 10 minutes to speed up setting.
- Once fully set, transfer the cornflake wreaths to a serving plate, holiday tin, or an airtight container. Serve at room temperature, or store according to the storage directions.
Notes
Storage: Store wreaths in a single layer in an airtight container, or with parchment between layers, at room temperature for 3–4 days. For longer storage, refrigerate up to 1 week or freeze up to 1 month; thaw at room temperature for 20–30 minutes before serving. Work quickly when shaping, and keep your hands and spoon well greased to minimize sticking. The small amount of salt is important for balancing sweetness. For gluten-free wreaths, use certified gluten-free cornflakes and candies. For a vegan version, use dairy-free butter and vegan marshmallows and melt them gently over low heat.
Nutrition
Calories: 140kcal
Love this recipe?Follow us at @thenandnowspace for more